
Last updated September 20, 2026
Full 25-point door and opener safety check with every visit - springs, cables, rollers, tracks, and your LiftMaster or Chamberlain opener included
You get a price before we start. It does not change when the truck arrives.
 Before
 After
After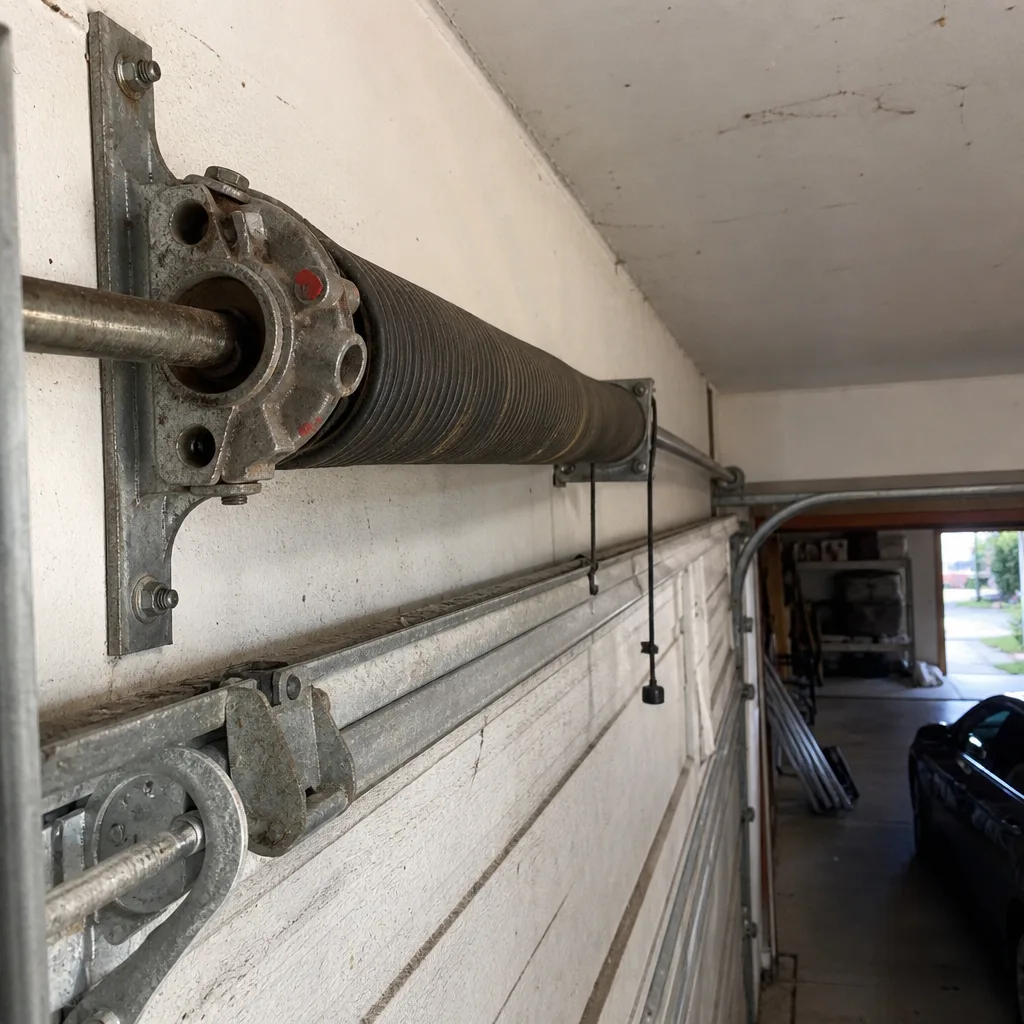 Before
 After
After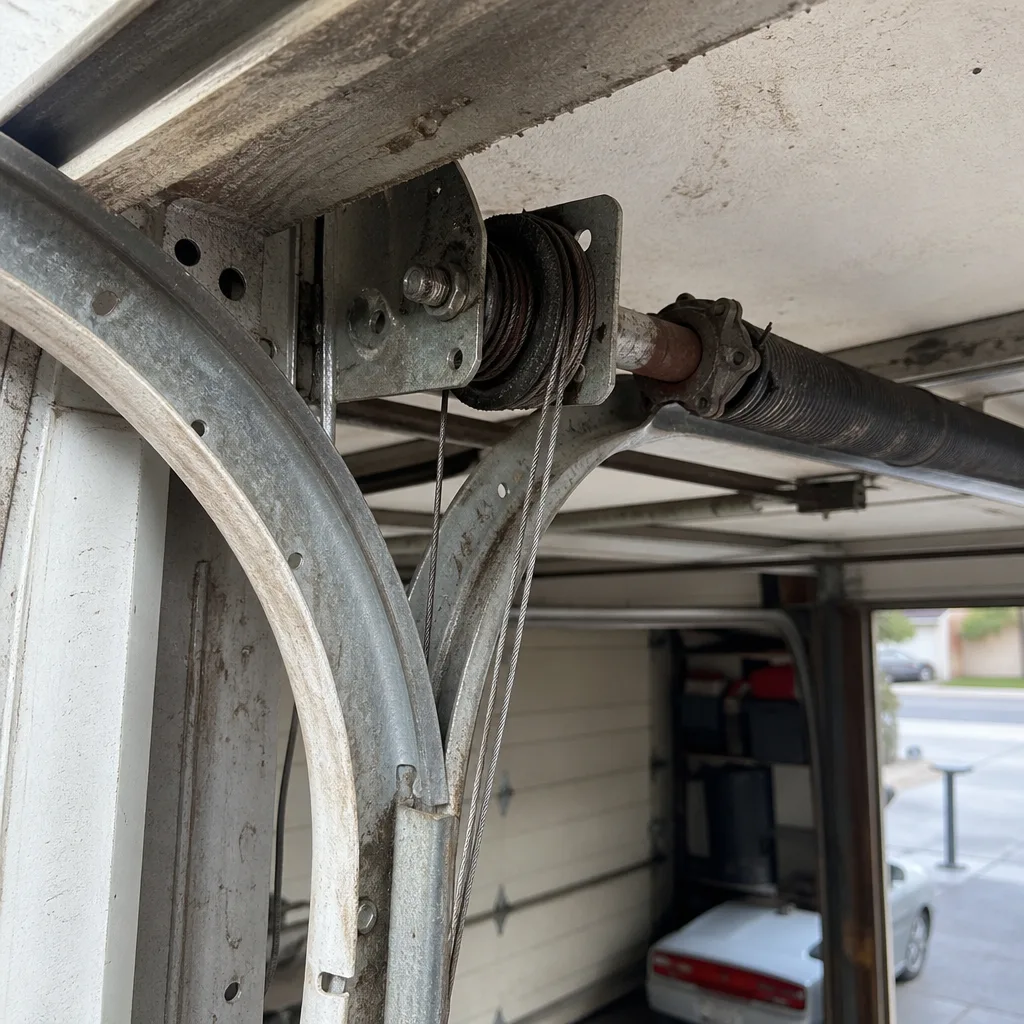 Before
 After
AfterGarage Door Repair Maintenance Checklist for Scottsdale Homeowners
The number-one reason Scottsdale garage doors fail in July is not a broken spring. It’s a bottom seal that expanded in the heat, dragged against the slab, and burned out the drive motor over six to eighteen months of added resistance. Most maintenance checklists are reprinted from manufacturer PDFs written for temperate climates. This one is built around the three failure modes that actually dominate Scottsdale service calls: heat-swollen bottom seals, UV-cracked torsion spring lubricant, and caliche-fouled rollers. Each item below names the part, the failure sign, and the dollar consequence of skipping it.
Quick Answer
A Scottsdale garage door maintenance checklist should be split into two passes per year: one before monsoon season (late May to early June) focused on heat-related wear, and one after monsoon season (late September to October) focused on humidity and debris. The critical tasks are lubricating the torsion spring with a high-temperature silicone formulation, checking the bottom seal for thermal expansion, and cleaning caliche dust from the roller bearings. Doing these three things on schedule prevents most of the failures we see in Scottsdale service calls, and each one takes under ten minutes.
Table of Contents
- Why Scottsdale Destroys Garage Doors Differently
- The Two-Season Maintenance Schedule
- Lubrication: What Actually Survives 110°F
- Bottom Seal Inspection: Catching Thermal Expansion Early
- Roller Inspection: Identifying Caliche by Sound
- Spring and Cable Inspection: What to Document
- Track Alignment and Motor Load Testing
- Creating Your Photographic Paper Trail
- Common Mistakes to Avoid
- When to Call a Professional
- Frequently Asked Questions
- The Bottom Line
BeforeAfterWhy Scottsdale Destroys Garage Doors Differently
Scottsdale’s climate punishes garage door components in ways that a Cleveland or Seattle maintenance guide never addresses. The combination of sustained 105°F-plus ambient temperatures, single-digit humidity for most of the year, and the monsoon season’s abrupt humidity spikes creates stress cycles that accelerate wear on specific parts. Understanding these three failure modes is the foundation of an effective maintenance routine.
First, the heat. A garage door facing south or west in Scottsdale can reach surface temperatures of 160°F to 180°F during a July afternoon. Standard petroleum-based garage door lubricants break down at these temperatures. They thin out, run off the torsion spring, and leave the coil surface dry enough to rust. By August, a spring that was lubricated in April with a generic product can be bone dry and starting to develop surface corrosion. That corrosion creates friction points on the coil. Friction points concentrate stress. Concentrated stress is how torsion springs snap before their rated cycle life.
Second, the bottom seal. Most bottom seals are made of PVC or EPDM rubber. In Scottsdale’s dry heat, PVC seals expand. They lose their flexibility and become sticky against the concrete slab. When the door opens, the expanded, sticky seal drags. Added drag means the motor works harder on every cycle. A drive motor that ran at 4.2 amps when the door was installed might draw 6.1 amps after six months of seal drag. That extra current draw generates heat in the motor windings. Heat in the windings degrades the insulation on the copper wire. The failure doesn’t happen in a week. It happens over eighteen months of accumulated thermal stress. The first sign is usually a door that slows noticeably midway through the open cycle, followed by a motor that simply stops.
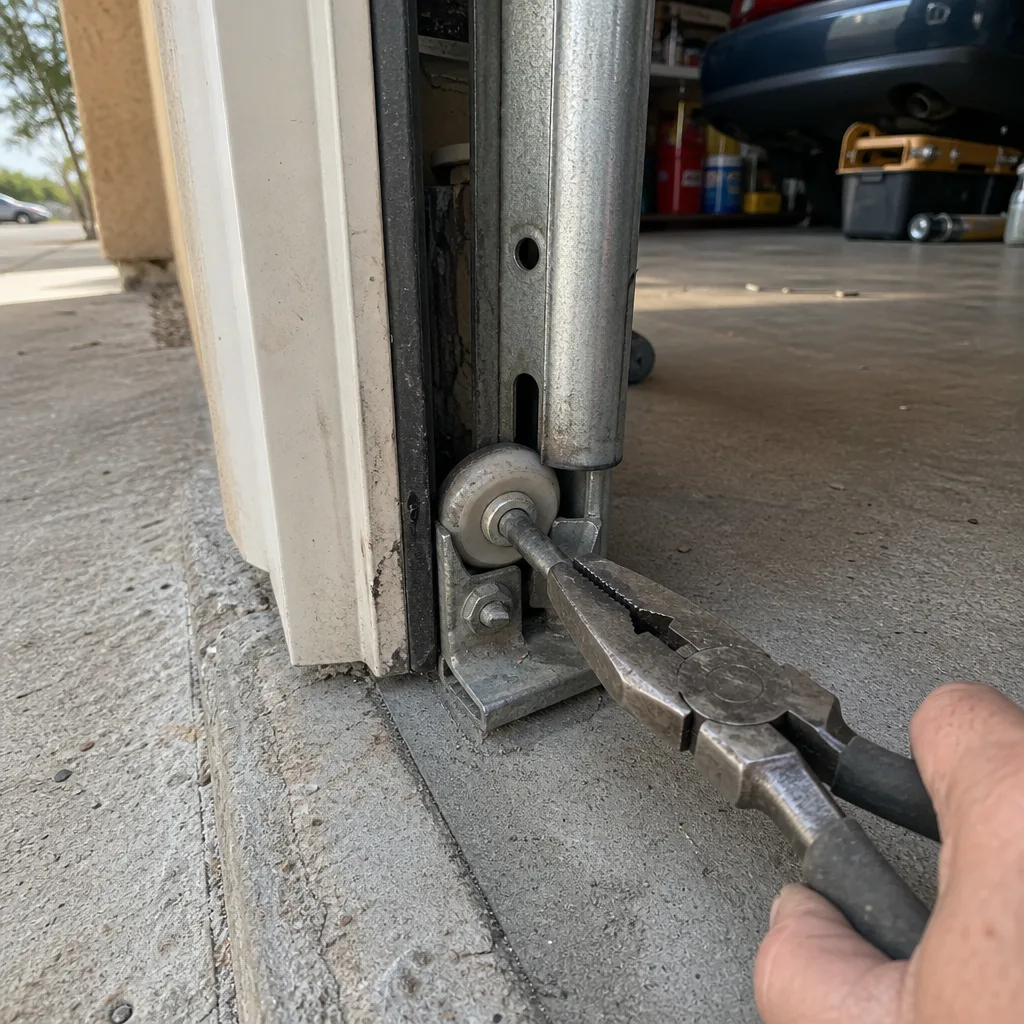
Third, caliche. Scottsdale’s soil is loaded with calcium carbonate. Dust from driveways, landscaping, and construction carries caliche particles into the garage. Those particles settle on the track, the rollers, and the bearings. Caliche is abrasive and hydrophilic. It absorbs moisture during monsoon season and forms a gritty paste that gets packed into the roller bearings. A roller bearing packed with caliche paste doesn’t roll. It grinds. The grinding creates flat spots on the bearing balls, which creates chatter in the track, which creates uneven wear on the door panels. By the time a homeowner feels the door getting rough, the bearings are usually beyond cleaning and need replacement.
These are the failure modes that actually show up in Scottsdale service calls. The checklist below is built around preventing each one, with specific tasks timed to the two seasons that produce them.
The Two-Season Maintenance Schedule
Scottsdale’s stress seasons are distinct: pre-monsoon heat and post-monsoon humidity. Each season produces different failure modes, and the maintenance tasks are different for each. Splitting the work this way means each pass takes 45 to 60 minutes, rather than a single marathon session that gets procrastinated and skipped.
Pre-Monsoon Pass (Late May to Early June)
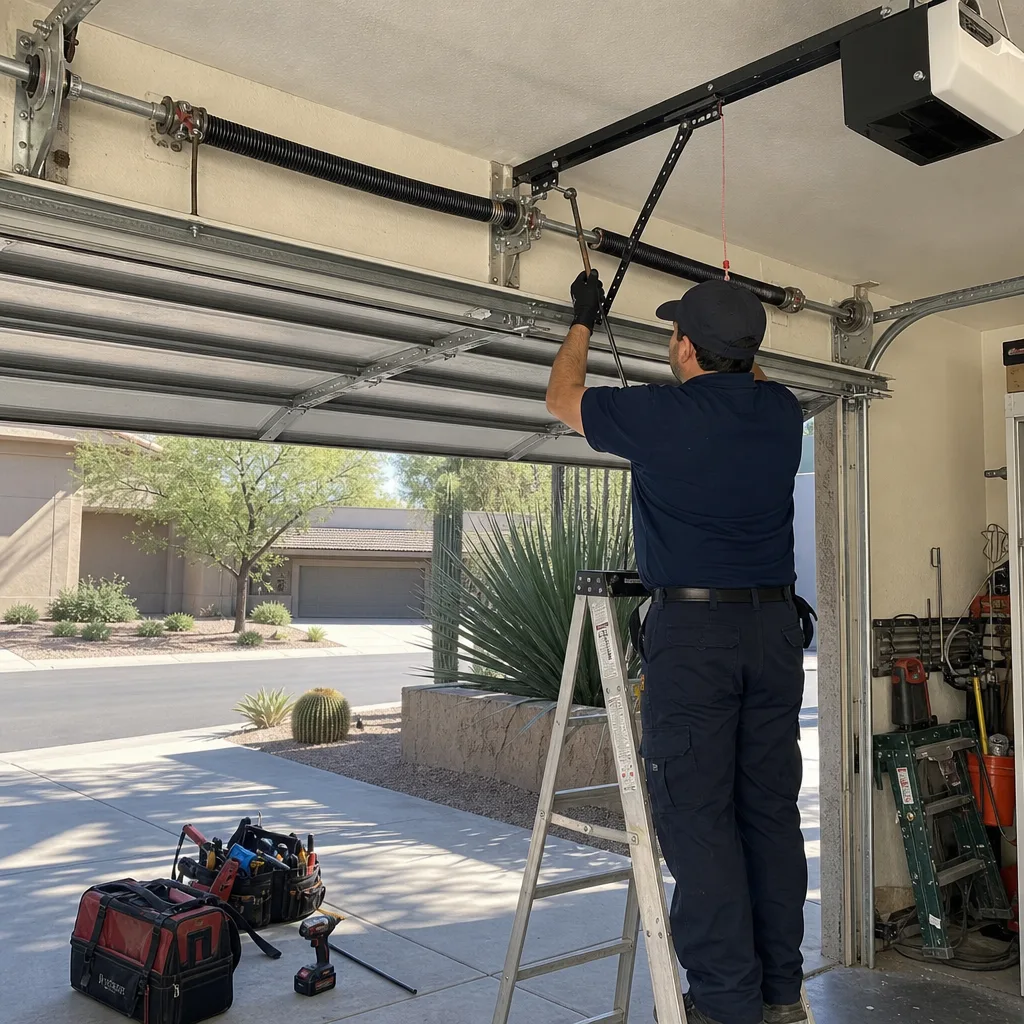
- Lubricate the torsion spring with a high-temperature silicone-based formulation. Focus on the coils, not the center bearing plate. This is the single most important pre-summer task.
- Inspect the bottom seal for expansion and stickiness. Run your hand along the seal where it meets the slab. If it feels tacky or leaves residue on your fingers, it’s degrading.
- Clean the track with a dry microfiber cloth. Remove accumulated dust before it gets damp. Do not apply lubricant to the track. Lubricating the track attracts dust and creates a grinding paste.
- Check the photoelectric sensors for dust film. Summer dust storms coat the sensor lenses. Wipe them with a dry cloth.
- Test the auto-reverse function. Place a 2×4 flat on the slab under the door’s path. Close the door. It should reverse within two seconds of contact. If it doesn’t, stop using the door and call a technician.
Post-Monsoon Pass (Late September to Early October)
- Inspect roller bearings for caliche paste. After monsoon humidity, caliche dust turns into a gritty slurry that packs into the bearing races. Roll each roller by hand with the door closed and disconnected from the opener.
- Re-lubricate the torsion spring. The humidity spike followed by dry heat accelerates oxidation. A second lubrication pass in October extends the spring’s cycle life in Scottsdale conditions by a measurable margin.
- Check all bolt and bracket torque. Humidity cycles cause the wood frame around the door to swell and contract. Loose brackets allow track misalignment.
- Inspect the bottom seal for cracking. Post-monsoon, the seal dries out rapidly after weeks of moisture. Dry-out cracking is different from heat expansion: it shows as small fissures along the seal’s underside rather than overall stickiness.
- Clean the weatherstripping along the jamb. Monsoon humidity promotes mildew growth on the vinyl stripping. Mildew accelerates breakdown of the vinyl compound.
Lubrication: What Actually Survives 110°F
Generic garage door lubricant fails in Scottsdale. That’s not marketing language from a parts supplier. That’s measurement data from hundreds of service calls we’ve done across Garage Door Repair in Scottsdale where the spring was dry, corroded, and snapped within two years of installation because the previous lubrication had evaporated.
The distinction that matters is the base compound. Petroleum-based lubricants (WD-40, 3-in-1 oil, many spray greases) have a flash point that’s fine for a Minnesota garage and a viscosity curve that collapses at Scottsdale summer temperatures. At 110°F ambient, a torsion spring in a south-facing garage sits at 140°F to 150°F. Petroleum lubricants thin to the consistency of water at those temperatures. They run off the coil within days. What’s left is a residue film that attracts dust and then bakes into a varnish that traps moisture against the spring steel. That varnish is the starting point for spring corrosion.
Silicone-based lubricants with a higher temperature rating (look for formulations rated to 400°F or above) maintain viscosity at Scottsdale’s summer extremes. They stay on the coil, they don’t attract dust the way petroleum products do, and they don’t bake into varnish. The specific product matters less than the base compound: if the can says “silicone” and gives a temperature rating, it’s in the right category. If it says “penetrating oil” or “multi-purpose lubricant” without specifying silicone, it’s the wrong tool for a Scottsdale garage door.
Here’s the lubrication procedure we recommend for a torsion spring:
- Close the door completely. This puts the spring under maximum tension. You’re lubricating the surface, not the interior, so the tension doesn’t matter for safety, but it keeps the coil stable while you work.
- Wipe the spring with a clean, dry microfiber cloth. Remove loose dust and any old lubricant residue. If you see rust flakes, note the location: rust on the coil surface is a sign the spring has exceeded its useful life and should be evaluated by a technician.
- Apply the lubricant to the coil faces. Spray directly onto the coils where they are spread apart, not onto the center bearing plate. The goal is to coat the spring steel, not the garage ceiling.
- Apply a small amount to the bearing plates at each end of the spring. Two short sprays. These are the pivot points where the spring rotates under load.
- Do not wipe off the excess. The coating is what protects the steel. It will settle into place over the next few cycles.
One pass in late May, one pass in late September. That’s the Scottsdale schedule. A spring that gets proper silicone lubrication twice a year, timed to the seasonal transitions, typically reaches its rated cycle life. A spring that gets generic spray lubricant once a year, or not at all, snaps early. That’s a $350 to $700 difference depending on the spring size.
Bottom Seal Inspection: Catching Thermal Expansion Early
Bottom seal replacement in Scottsdale runs $90 to $180 including the part and labor, depending on the door width. A drive motor replacement runs $250 to $500. Skipping the seal inspection to save fifteen minutes is a poor trade. The seal is the first line of defense in the heat-drag failure chain. Inspecting it quarterly is the cheapest insurance a Scottsdale homeowner can buy.
Here’s how to inspect a bottom seal properly:
- Close the door fully. Look at the seal where it meets the slab from the outside. The seal should compress evenly along its entire length. If there’s a visible gap anywhere, the seal is no longer making contact and the door is losing conditioned air.
- Run your fingers along the seal from the inside. With the door still closed. The seal should feel firm and slightly springy. If it feels tacky, sticky, or leaves a residue on your fingers, it’s thermally degrading. This is the first sign of heat expansion damage.
- Check the ends of the seal. The corners are where expansion damage shows first, because the seal is pinned there by the track brackets. Look for any bulging, folding, or the seal pulling away from the retainer channel.
- Open the door halfway and watch the seal. As the door moves, the seal should trail smoothly along the slab. If it visibly drags, catches, or makes a squeaking sound against the concrete, it’s already expanded enough to create motor resistance.
- Mark the date of your inspection. Write it on the inside of the door panel with a sharpie, or note it on your maintenance log. If the seal was fine in June and sticky by August, you know the replacement window is under three months and you should schedule it before the next season.
The mechanism behind this is straightforward. PVC compounds begin softening at around 140°F. A seal sitting on a sun-baked Scottsdale slab surfaces reaches that temperature every afternoon from June through September. The compound softens, expands slightly, and develops that tacky surface. When the door opens, the tacky surface drags against the concrete. The drag creates motor load. The motor load shows up in the amp draw the opener registers. A healthy door with a sliding seal draws 4 to 5 amps on open. The same door with a dragging seal draws 6 to 9 amps. That’s a doubling of motor stress on every cycle, and that’s what kills the drive motor.
We’ve replaced bottom seals on doors in McCormick Ranch, Gainey Ranch, and Paradise Valley where the seal had expanded enough to visibly lift the door off the slab on one side. By the time it’s that bad, the homeowner usually already has a motor that’s running hot and a door that’s jerky on open. The fix at that stage is a seal replacement plus a motor evaluation. Catching it in the tacky-feeling stage costs a $90 to $180 seal and a service call. That’s the difference the quarterly check makes.
Roller Inspection: Identifying Caliche by Sound
Caliche fouling shows up in the sound first. A healthy roller on a properly aligned track is nearly silent: a soft rolling sound, maybe a faint metallic tick as the bearing passes the track seam. A roller packed with caliche paste is different. It grinds. It squeaks. It produces a gritty, dragging sound that’s more like sandpaper than machinery. The sound is the diagnostic tool.
Here’s the inspection method we use in the field, and it works just as well for a homeowner with no special equipment:
- Close the door and pull the emergency release cord. This disconnects the door from the opener carriage. The door should now move by hand. If it doesn’t, the spring tension is wrong and you should stop and call a technician.
- Lift the door slowly by hand, pausing every few inches. Listen at each pause. A healthy roller is quiet. A fouled roller chatters against the track, or makes a grinding sound as the bearing balls struggle through the packed caliche.
- Rock each roller side to side with the door stationary. Use your finger on the roller shaft where it enters the hinge. There should be minimal play. If the roller wobbles, the bearing has already begun to wallow out and the roller needs replacement.
- Check for flat spots. A seized bearing eventually stops rolling entirely and starts sliding. That produces a flat spot on the wheel, which you can feel as a bump or skip when the door moves. A flat-spotted roller must be replaced and the track should be checked for corresponding wear.
- Repeat on the other side. Roller wear is rarely symmetrical. One side of the door carries more of the load during operation, depending on slight variations in spring tension and track alignment.
Caliche dust is not just abrasive. It’s also hydroscopic, meaning it absorbs moisture. During monsoon season, caliche dust on the track and rollers absorbs humidity from the air and forms a paste. That paste is what gets packed into the bearing races. It’s also corrosive: calcium carbonate is alkaline, and alkaline compounds accelerate corrosion on steel bearing components. A roller bearing that’s been packed with caliche paste through one monsoon season is usually unsalvageable by the following spring.
Roller replacement in Scottsdale runs $10 to $30 per roller for standard nylon rollers, $30 to $60 per roller for sealed-bearing premium rollers, plus the service call. A full set of ten to twelve rollers replaced at once is the most economical approach, since the service labor is the same whether you replace one or all. Expect $180 to $400 for a complete roller set replacement depending on the roller type and door width. The alternative is a seized bearing that scores the track, and track replacement starts at $350.
Spring and Cable Inspection: What to Document
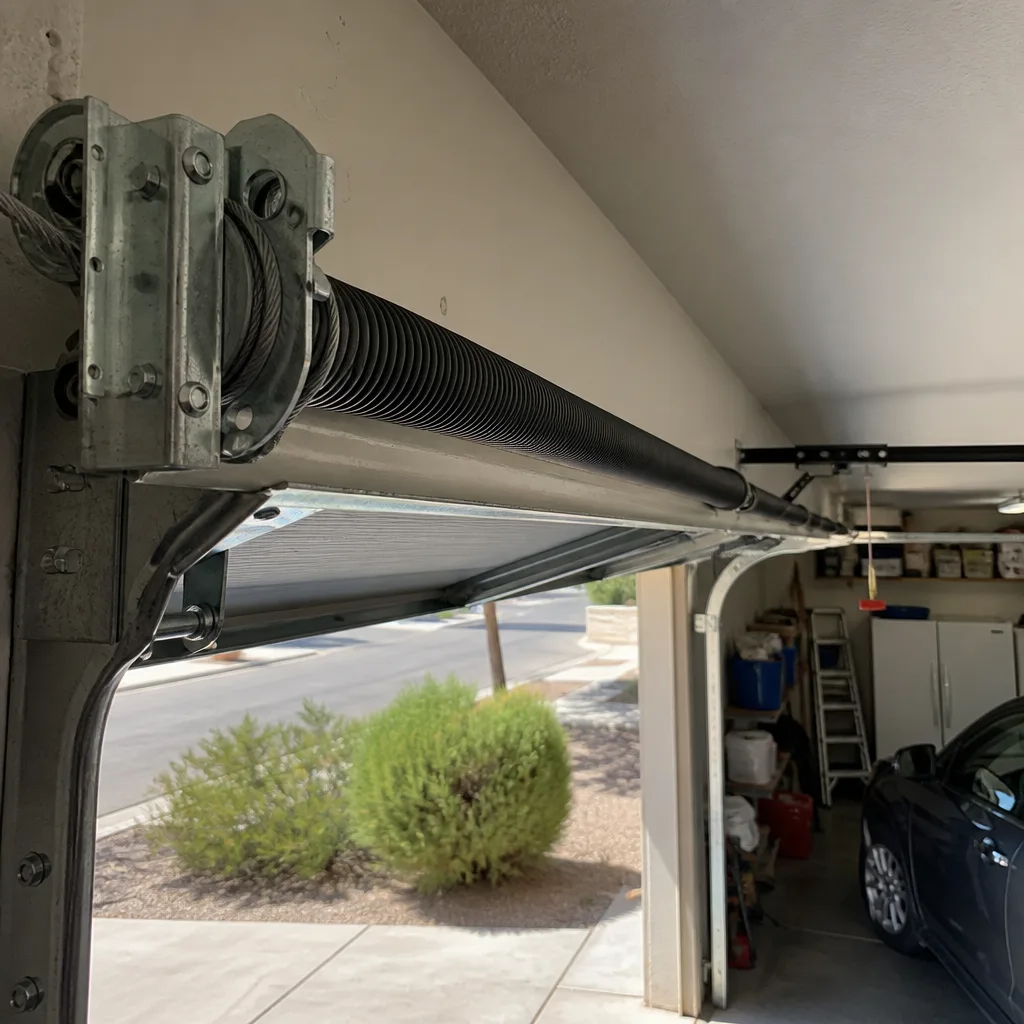
Torsion springs in Scottsdale see two distinct threats: UV exposure from the gap between the door and the frame, and the heat-accelerated oxidation we already covered. Cables see a different threat: fraying at the drum, which is the most common cable failure point on any garage door. Inspection here is visual, but it’s also documentary. Photographs matter, which we’ll get to in the paper trail section.
For the spring:
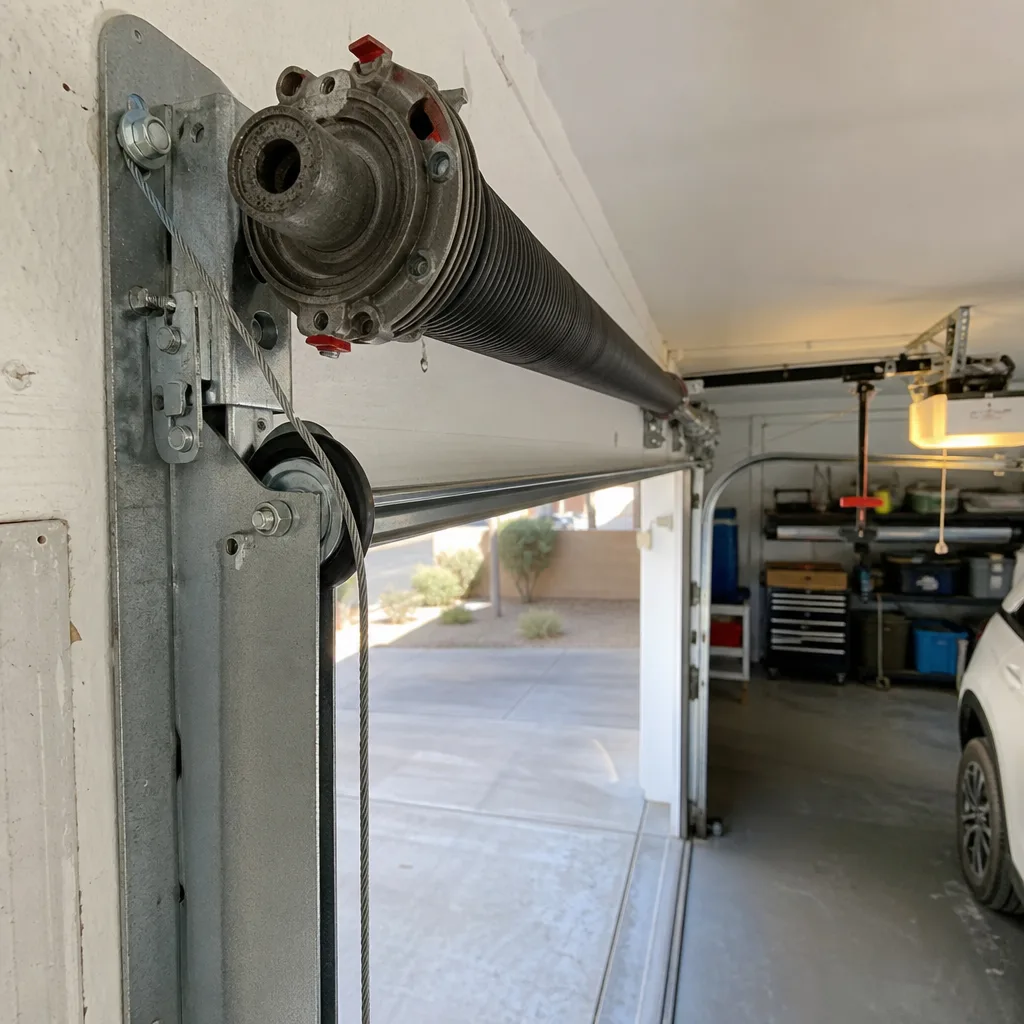
- Close the door and look at the spring from the side. The coils should be evenly spaced from end to end. If you see a gap that’s wider than the other gaps, that’s a sign of a weakened section that’s stretched before its neighbors. This is often the precursor to a snap.
- Look for rust, especially on the bottom of the spring. The bottom side catches condensation that forms during the brief overnight cool-downs in monsoon season. Rust on the bottom is the classic Scottsdale pattern.
- Check the spring’s wire diameter if you know what it should be. A 0.250-inch spring that’s worn to 0.225 in places has lost significant steel mass and should be replaced. We’ve measured springs in Scottsdale garages that looked functional from a distance but had lost 15% of their wire thickness to oxidation.
- Photograph the spring from both ends. Use your phone. Get a clear shot of the coil spacing and any rust. These photos are your baseline for the next inspection.
For the cables:
- Inspect where the cable wraps around the drum at the top of the door. This is the highest-stress point on the cable, where the constant wrap and unwrap under load creates friction. Look for any individual wire strands that are broken and protruding. One broken strand means the cable has started to fail.
- Follow the cable down to the bottom bracket. Look for kinks, flat spots, or rust. Kinking is worse than rust: a kinked cable has already lost structural integrity at that point and can snap under load without warning.
- Check for uneven cable tension. With the door closed, the cables should be equally taut on both sides. If one side is slack, the spring tension is unbalanced. That’s not a cable problem. That’s a spring problem, and it needs a technician.
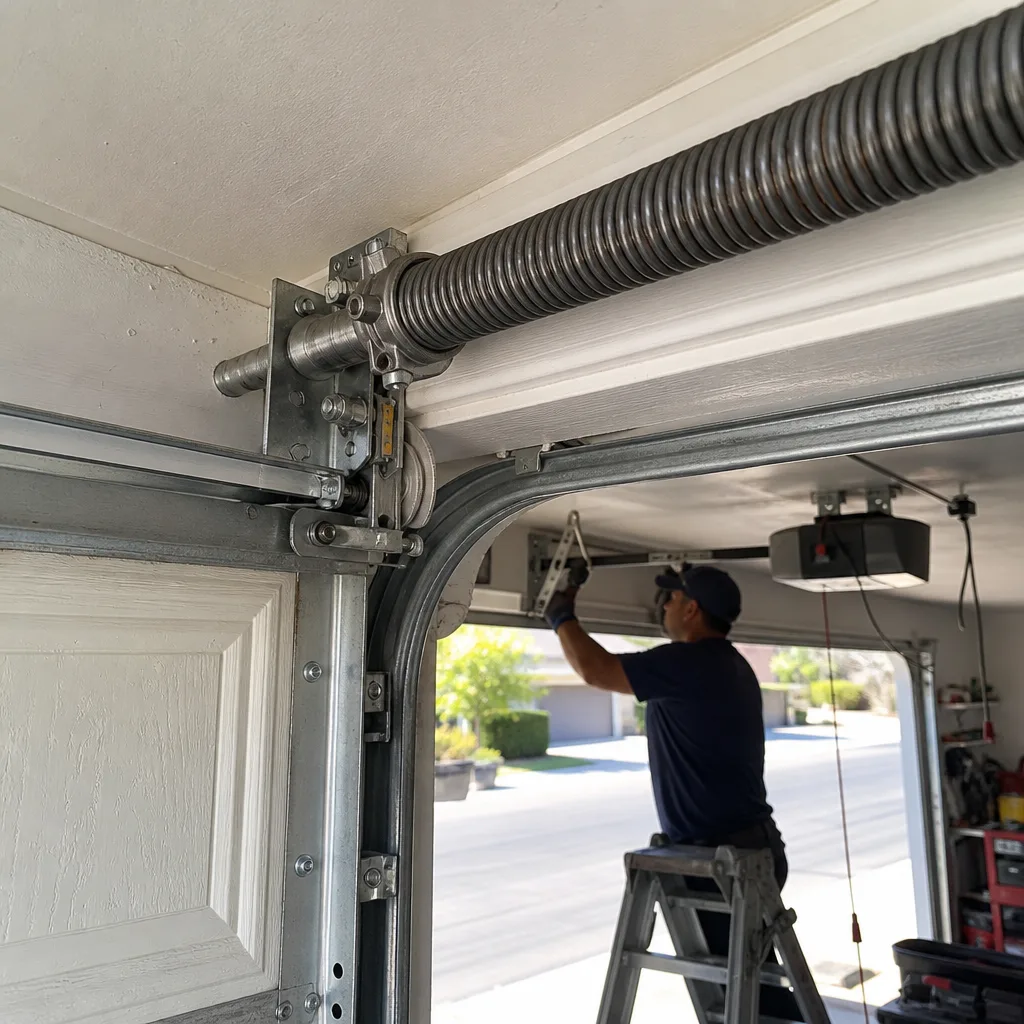
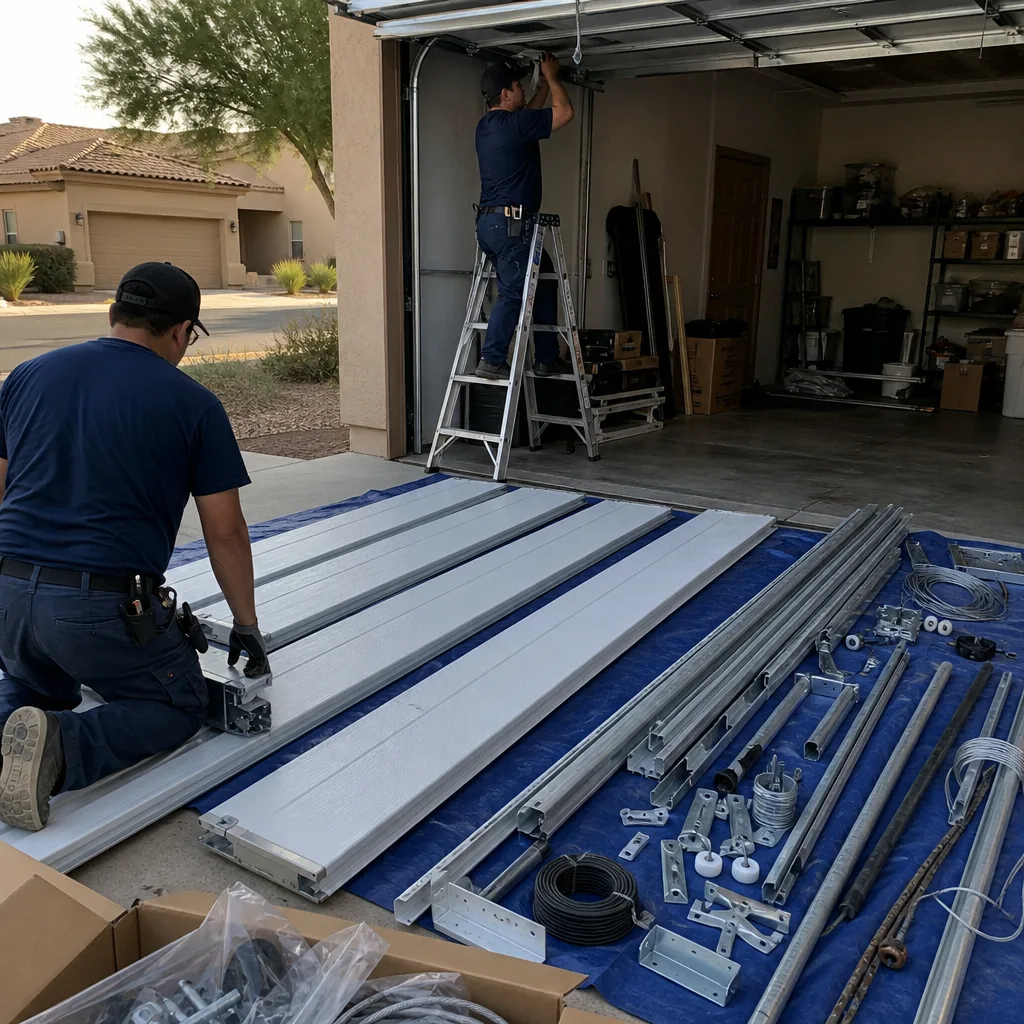
Do not attempt to replace a torsion spring or cable yourself. The torsion spring holds hundreds of pounds of stored mechanical energy. A spring that releases suddenly can cause catastrophic injury. This is not boilerplate language. The spring is the most dangerous component in your garage. When in doubt, call a licensed garage door repair technician in Scottsdale.
In our experience at Servo Garage Doors Scottsdale, spring and cable documentation is where homeowners gain the most from keeping a maintenance photo log. If a spring snaps and the homeowner can show photos from two inspections ago that documented rust starting, the conversation with the home warranty company or insurance adjuster is shorter. That’s the paper trail advantage.
Track Alignment and Motor Load Testing
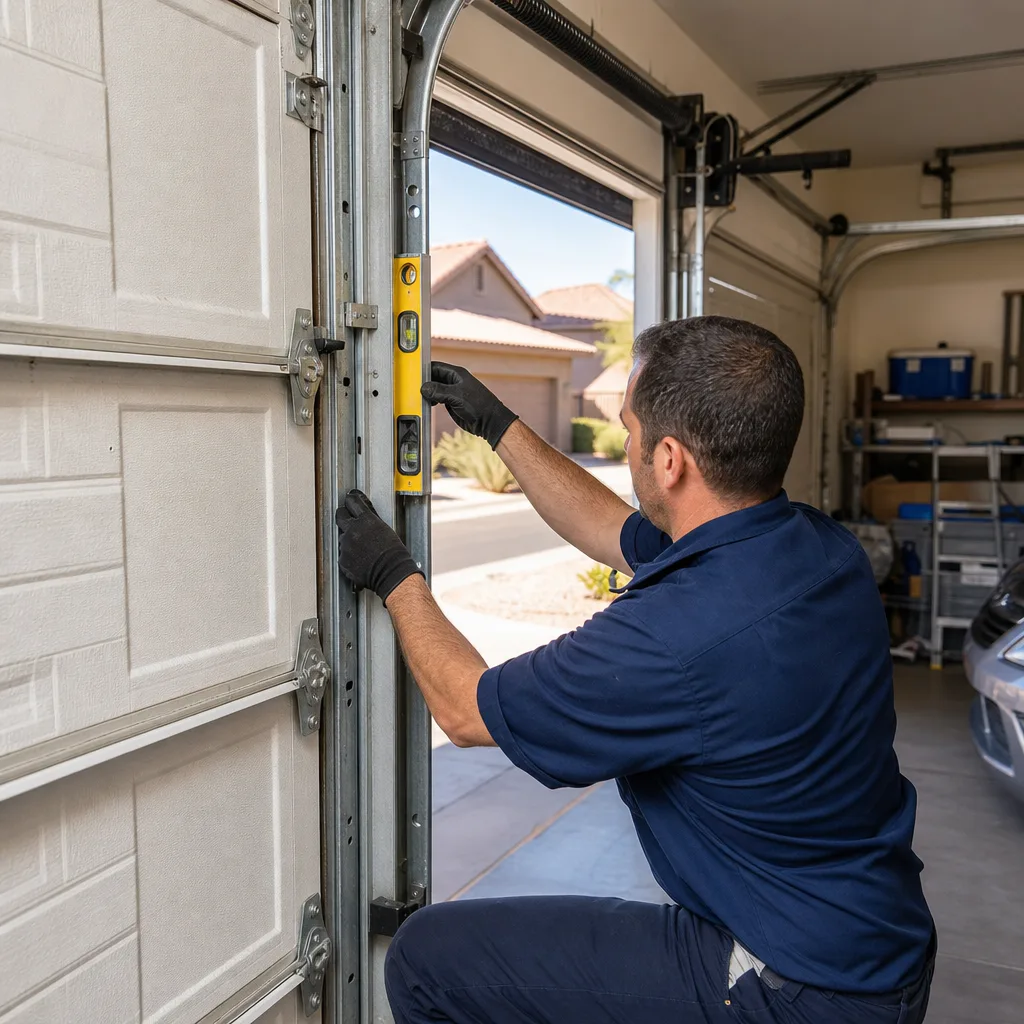
Track misalignment in Scottsdale comes from three sources: the wood frame swelling during monsoon humidity, the natural settling of the home on expansive soil, and the repeated thermal cycling of the metal track itself, which expands during the day and contracts at night. Over years, that thermal cycling can shift the track by an eighth of an inch or more. An eighth of an inch is enough to create binding at the roller-to-track interface.
The track check is simple:
- Close the door and measure the gap between the door edge and the track on both sides. The gap should be consistent from top to bottom on each side. If it’s wider at the top than the bottom, or vice versa, the track has shifted.
- Look for wear marks on the inside surface of the track. Shiny spots indicate the roller is pressing against one side of the track, which means the alignment is off or the door is out of balance.
- Check the bolts holding the track brackets to the wall. These should be tight. In Scottsdale homes built between 2015 and 2025, we sometimes see track brackets that were installed with only two bolts when four were called for. That’s a build-quality issue, not a maintenance issue, but it’s worth checking.
- Run the door and watch for side-to-side movement. The door should track straight. Any visible lateral shift at the top or bottom means the track isn’t guiding the door cleanly.
Motor load testing requires an amp clamp meter, which most homeowners don’t own. But there’s a proxy that works: the door’s speed. A well-maintained door opens smoothly and at a consistent speed from start to finish. A door with added resistance, from seal drag or track binding or bearing failure, will slow midway through the open cycle and then speed up again. That mid-cycle dip is the motor straining against added load. If you see it consistently, the resistance is enough to matter.
The more direct test is temperature. After running the door through a full open-close cycle in the hottest part of the day, touch the motor housing. It should be warm, not hot. If it’s uncomfortable to hold your hand against for more than a few seconds, the motor is running hotter than it should. That heat is wasted energy being converted from the added resistance somewhere in the system. Find the resistance, fix it, and the motor temperature drops back to normal.
Creating Your Photographic Paper Trail
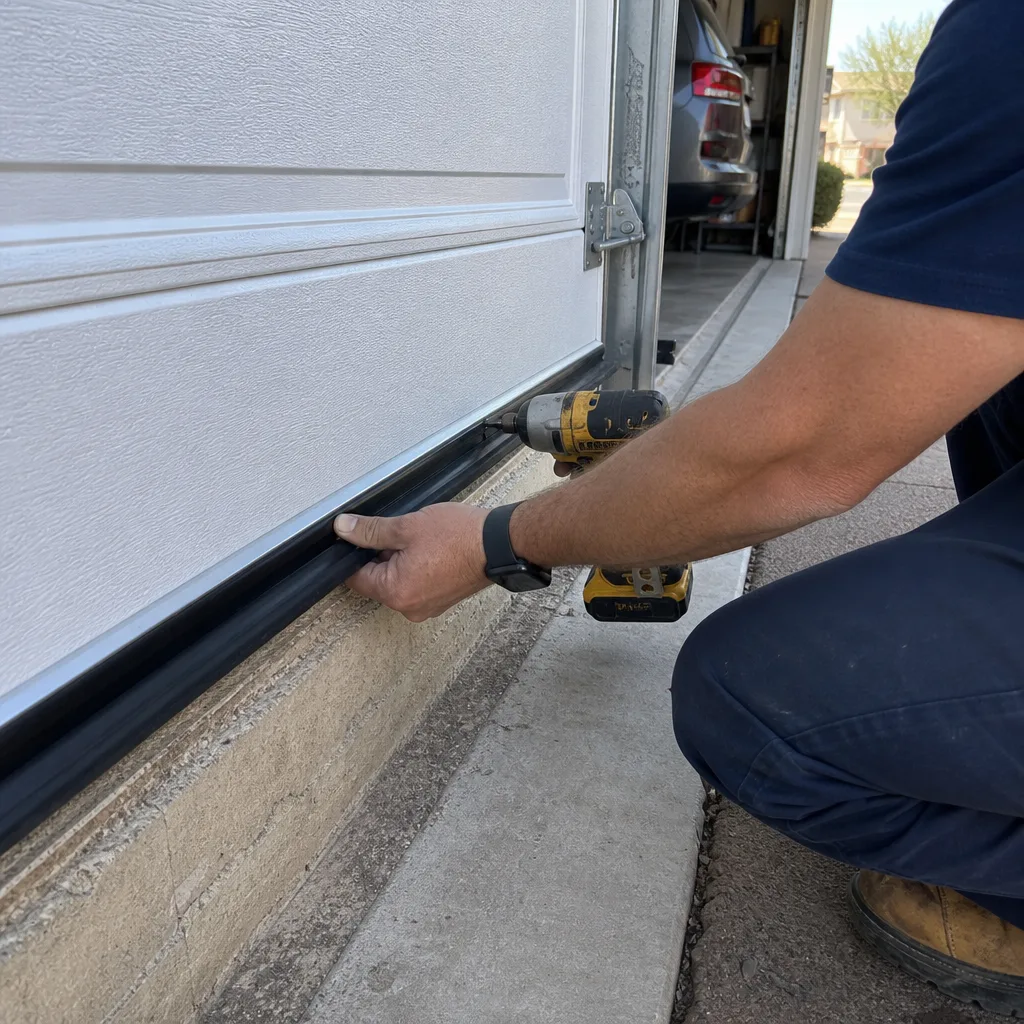
Documentation is not optional. It’s the difference between a maintenance routine that prevents failures and a maintenance routine that can also prove what you did when you need to prove it, whether for a home warranty claim, a resale disclosure, or a manufacturer defect claim. The process takes ten minutes per inspection and produces a permanent record.
Here’s what to photograph, and when:
- Photograph the torsion spring at each inspection. Frame it from both ends, close enough that the coil spacing and surface condition are visible. These are your wear-progression photos.
- Photograph the bottom seal at three points: left corner, center, right corner. The corners are where heat expansion damage appears first, and the center is where the seal contact tells you the most about overall condition.
- Photograph the roller wheels at each of the four corners. This is where bearing wear is most visible. A close-up of the wheel face showing the bearing seal and the condition of the track surface is enough.
- Photograph the date. Write the date on an index card and hold it in frame for the first photo of each session. This establishes a timeline that makes the photo record useful for warranty purposes.
- Store everything in a folder on your phone or a cloud account. One folder per year, named “Garage Door Maintenance 2025” or similar. When you sell the home, this folder is part of your seller disclosure. When a spring snaps, this folder is your evidence that you maintained the door.
This is the same principle we operate by. Every garage door repair in Scottsdale that we complete includes a documented photo record of what was found and what was done. Clause 4 of The Haven Standard, the operating standard we work under, states that the failed component must be photographed before any replacement is quoted. The homeowner sees the broken part. They see the replacement part going in. They leave with the evidence. Your maintenance log is the do-it-yourself version of that same principle.
Common Mistakes to Avoid
- Lubricating the track. A lubricated track in Scottsdale is a magnet for caliche dust, which combines with the lubricant to form a grinding paste that accelerates roller and track wear. The track should be clean and dry, always. Lubricant belongs on the spring, the bearing plates, and the hinges, not on the track.
- Using WD-40 or penetrating oil on the spring. These products are designed to break down rust, not to provide lasting lubrication. In Scottsdale heat, they evaporate within days and leave the spring surface exposed. Use a silicone-based lubricant rated for high temperatures.
- Ignoring a slow door. A door that opens noticeably slower than it did six months ago is telling you that something is adding resistance. Every week spent ignoring it is a week of accumulated motor wear. The problem that causes the slowness is usually a $100 fix. The motor it eventually kills is a $300 fix.
- Skipping the post-monsoon inspection. The pre-monsoon pass gets most of the attention because summer is the obvious stress season. But the post-monsoon pass is when caliche gets packed into bearings and humidity corrosion gets a foothold. Skipping it means entering the next summer with damage already in progress.
- Replacing a bottom seal without addressing the cause. If the seal expanded due to heat and you replace it with the same PVC compound without checking the door’s balance, the new seal will fail the same way. A door that’s slightly out of balance puts more of its weight on one side of the seal, which accelerates the heat-expansion problem on that side.
- Attempting DIY spring work. This bears repeating because the hardware store sells torsion springs and YouTube makes it look manageable. The torsion spring is under enough stored energy to cause fatal injury. This is not a maintenance task. It’s a repair task that belongs to a trained professional with the correct winding bars and a documented procedure.
- Assuming the builder-grade door needs no maintenance. Homes built in Scottsdale between 2015 and 2025 often came with builder-grade garage doors and openers. These are functional but built to a price point. The springs are typically rated for 10,000 cycles, which in a Scottsdale household is about seven to eight years of use. If your home is in that build window and you haven’t maintained the door, you’re likely very close to a spring replacement whether you know it or not.
When to Call a Professional
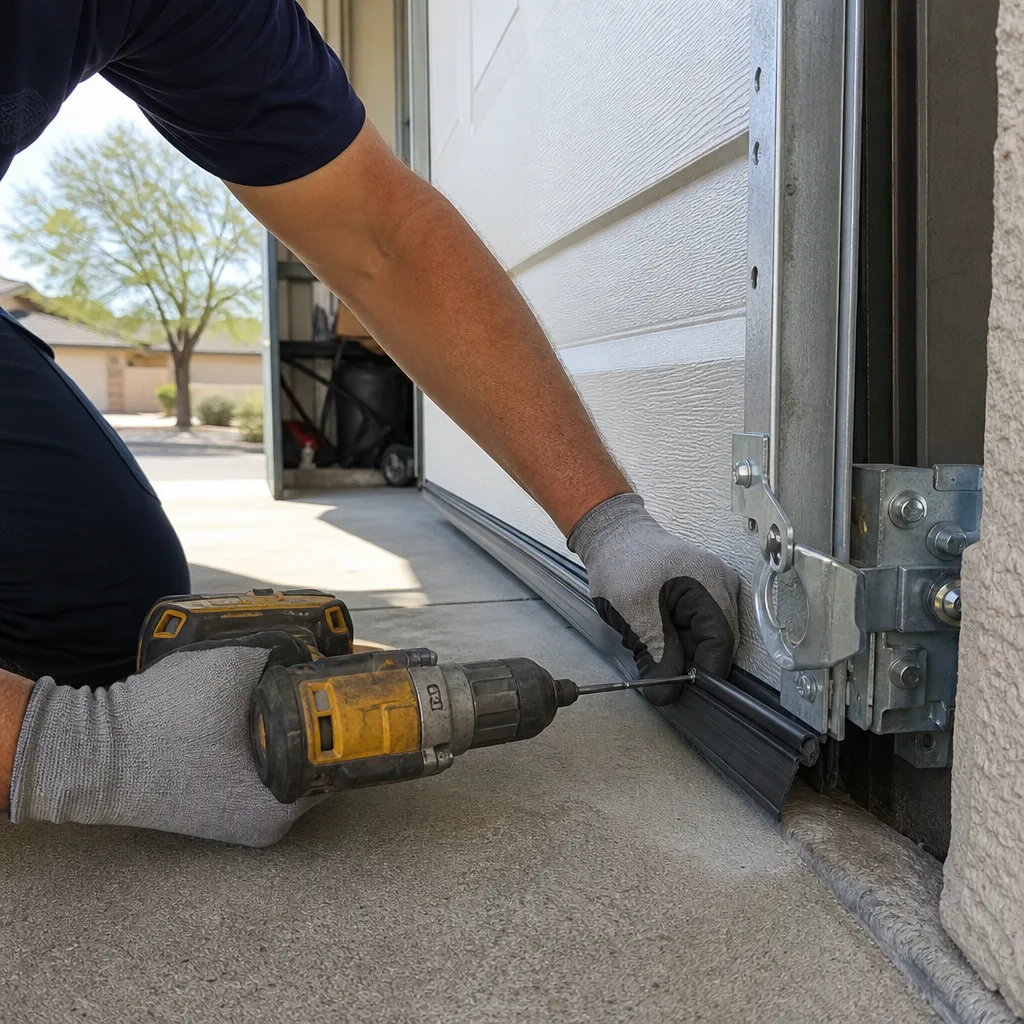
Some conditions are signals to stop the DIY inspection and pick up the phone. A snapped torsion spring is obvious: a loud bang from the garage, the door refusing to open, a visible gap in the spring’s coil. Do not attempt to open the door manually. The spring’s stored energy is gone, and the door’s full weight is now on the cables. A cable that snaps under that load can whip with enough force to injure anyone nearby. Call a professional.
A frayed cable with visible broken strands is the next priority, for the same reason. A door that’s visibly out of balance when lifted by hand with the emergency release pulled means the spring tension is wrong and needs adjustment under controlled conditions. A roller that’s seized and starting to chew up the track needs replacement before the track itself is damaged beyond repair. A motor that’s overheating, making grinding sounds, or failing to reverse on obstruction is a safety hazard that requires immediate attention.
Servo Garage Doors Scottsdale offers free estimates in Scottsdale. Call (928) 363-3551. Marcus Deller and the team will give you a written price and a written scope of work before any work begins. That’s Clause 1 of The Haven Standard, and it’s the way garage door repair in Scottsdale should work.
Frequently Asked Questions
Twice a year, timed to the seasonal transitions: once in late May or early June before the monsoon season, and once in late September or early October after it. Each pass takes 45 to 60 minutes and covers lubrication, seal inspection, roller inspection, and track checks. The spring and cable inspection can be folded into either pass, but documenting it with photos each time is what builds a useful maintenance record over years.
Use a silicone-based lubricant rated for high temperatures (400°F or above). Scottsdale’s summer heat causes petroleum-based lubricants to thin and run off the spring within days, leaving the steel exposed to corrosion. Silicone formulations maintain viscosity at the temperatures a torsion spring reaches in a south-facing garage, and they don’t attract caliche dust the way petroleum products do.
A DIY maintenance pass costs under $20 in materials: a can of high-temperature silicone lubricant and a microfiber cloth. If you prefer a professional maintenance visit, expect to pay $95 to $175 for a comprehensive inspection with lubrication, depending on the door size and the company. Servo Garage Doors Scottsdale quotes every job with a flat, written price before any work begins. Call (928) 363-3551 for a free estimate.
In most cases, yes. The bottom seal slides into a retainer channel on the door and can be pulled out and replaced with a new length of seal. The seal itself costs $25 to $70 depending on the door width and the compound. The tricky part is often the retainer itself: on older doors, the retainer may be cracked or corroded, and replacing it requires removing and re-securing the bottom panel. If the retainer is compromised, call a professional. The seal replacement is not worth a half-done job that drags and kills your motor.
The most common cause is a heat-expanded bottom seal dragging against the slab. As PVC seals heat up to 140°F or more on a Scottsdale summer afternoon, they soften, expand, and develop a tacky surface that creates resistance on every open and close cycle. That resistance causes the drive motor to work harder, which is why the door slows down mid-cycle. Inspect the seal for tackiness or visible dragging. If it’s not the seal, the next suspect is a roller bearing packed with caliche paste from monsoon humidity.
A standard torsion spring is rated for 10,000 cycles, which translates to seven to ten years of typical use in a Scottsdale home, depending on how often the door cycles. Scottsdale’s heat accelerates oxidation on the spring surface, which can shorten that lifespan if the spring isn’t lubricated properly. High-cycle springs rated for 20,000 to 30,000 cycles are available and are a worthwhile upgrade if you plan to stay in the home long-term. If your spring shows visible rust or uneven coil spacing, it’s time for an evaluation. Call (928) 363-3551 for a free estimate.
The Bottom Line
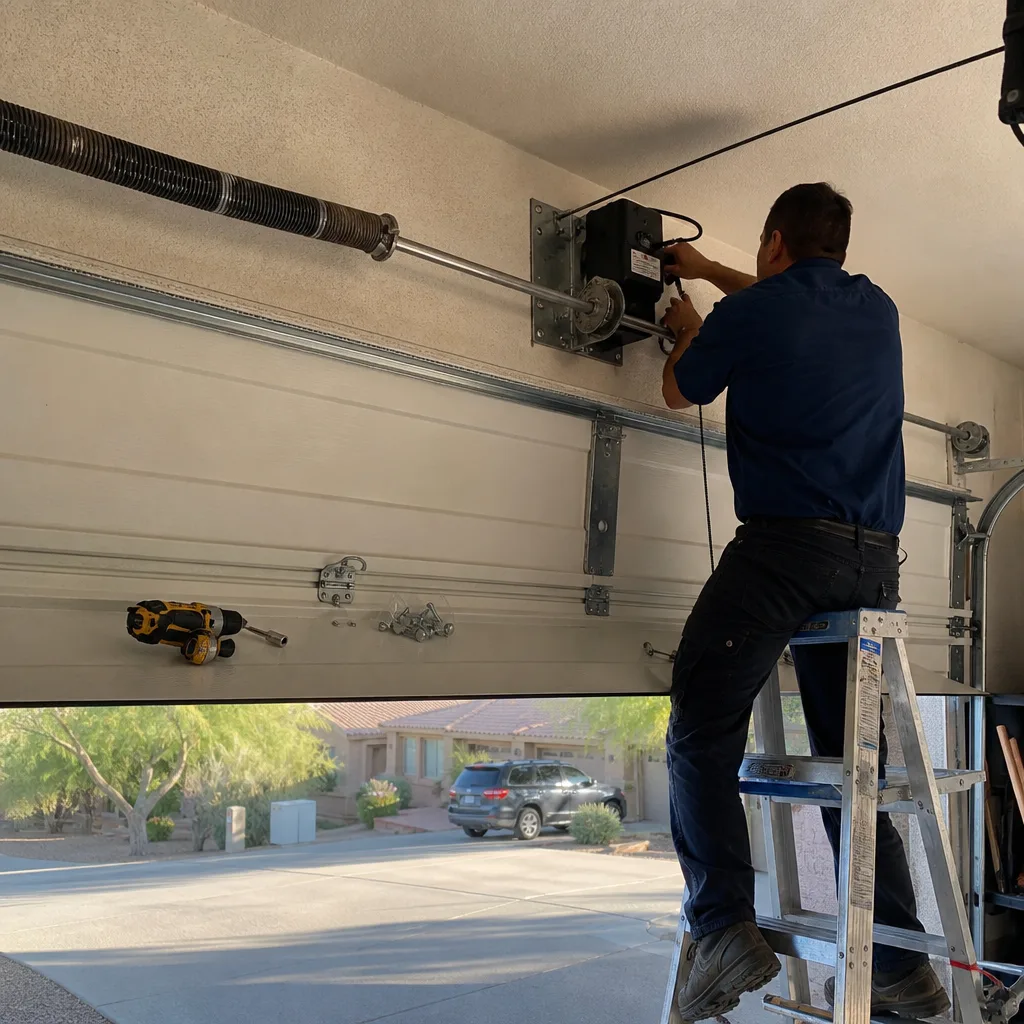
A Scottsdale garage door maintenance routine doesn’t need to be complicated or expensive. It needs to be specific. Lubricate the torsion spring twice a year with a silicone-based product that survives 110°F. Inspect the bottom seal quarterly during summer for heat expansion that drags and kills drive motors. Listen to the rollers for the grinding sound of caliche infiltration, especially after monsoon season. Document everything with photos. Those three habits, done consistently, prevent the failures that dominate Scottsdale service calls. And when something does break despite your maintenance, a written price before work starts is the standard to hold every contractor to. That’s how garage door installation and repair should work in Scottsdale, and it’s how we operate.
Written by Marcus Deller, Owner at Servo Garage Doors Scottsdale, serving Scottsdale since 2015.